
What’s not to love about a wreath?
Like Santa himself, it’s round and plump and comes with interesting little surprises.
You can hang a wreath on a wall or a door, or lay it flat on a table.
Heck, you can even hook one on a chair, a garden gate, or a newel post.
Like Santa himself, it’s round and plump and comes with interesting little surprises.
You can hang a wreath on a wall or a door, or lay it flat on a table.
Heck, you can even hook one on a chair, a garden gate, or a newel post.
The best ones are homemade. Try it. Let a wreath express the personality of your home – modern and glitzy, old-fashioned and charming, historically accurate, or cutting-edge creative. What’s your style? How can your wreath emphasize your home's specialness?
Starting point
Years ago, it took me a few seasons of cranking out disappointing DIY wreaths before I realized, “It’s the base, stupid.”
The way you begin the wreath is the most important element in its design. A wreath base needs to be a sturdy framework and a good background that is handsome enough to stand alone. No skimpy grapevine circles or pine branches tied to a wire coat hanger. Give it some body.
That’s why I love to use forms made of either foam or straw. Either one can be the start for this wreath made from strips of felt. It’s similar to the rag wreath I made for spring.
Gather supplies
Here’s what you’ll need:
- Wreath form
- Felt
- Ribbon
- Decorative clusters
The amount of felt you’ll need depends on the size of your wreath and how fluffy you want it to be.
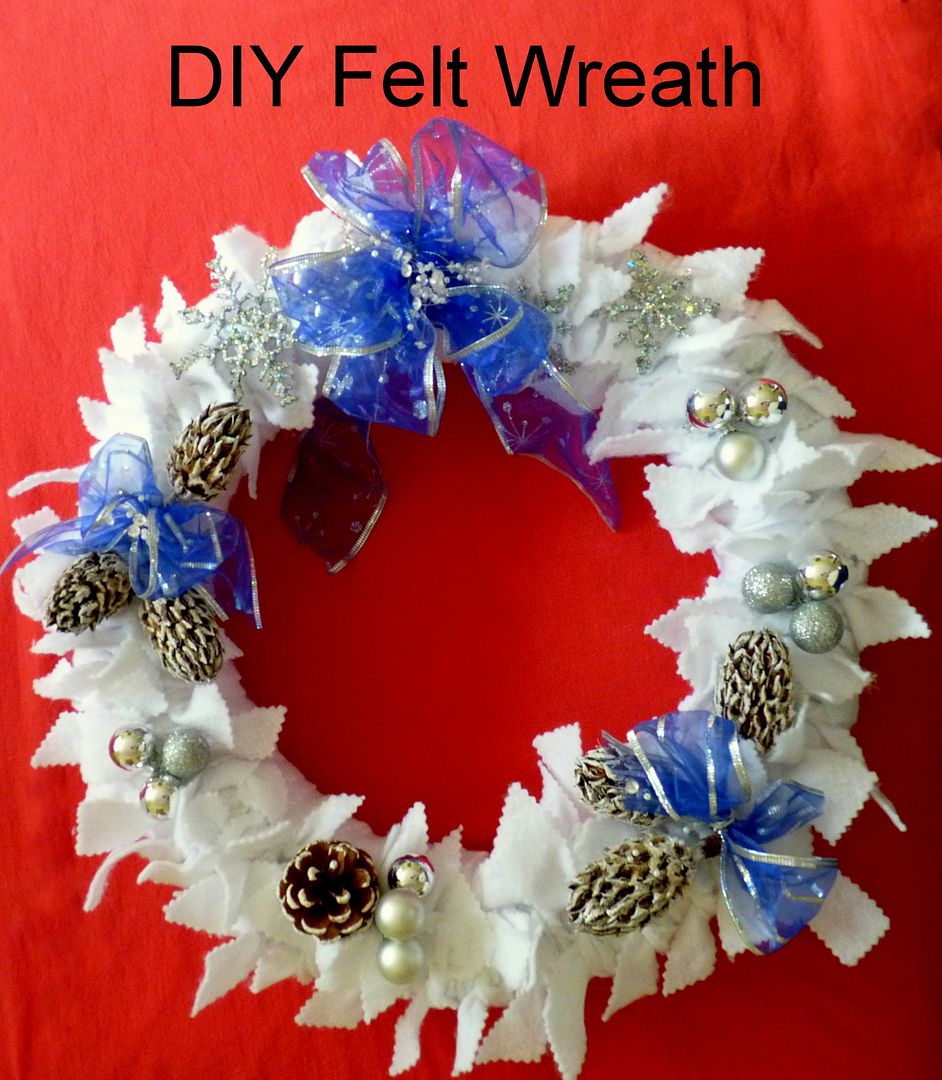
One thing’s for certain: it’s cheaper to purchase felt by the yard than by the “craft square.” I know your color selection will be limited because craft stores sell more felt colors than fabric stores sell. I wanted a white background for this Christmas or Hanukkah wreath.
I’ve also made felt wreaths using a combination of felt colors (see below). Felt is easy to work with because it’s so well-behaved. It’s a “pressed” rather than “woven” fabric, so it doesn’t unravel and doesn’t need hemming. I chose to cut this version with pinking shears for added interest.
Cut the white felt into strips that measure at least twice the circumference of your wreath form. Mine measured about 1.5 inches by 18 inches.
 |
| If you don't have pinking shears, no problem. Your wreath will still look pretty. These babies are fairly goof-proof. |
Three layers
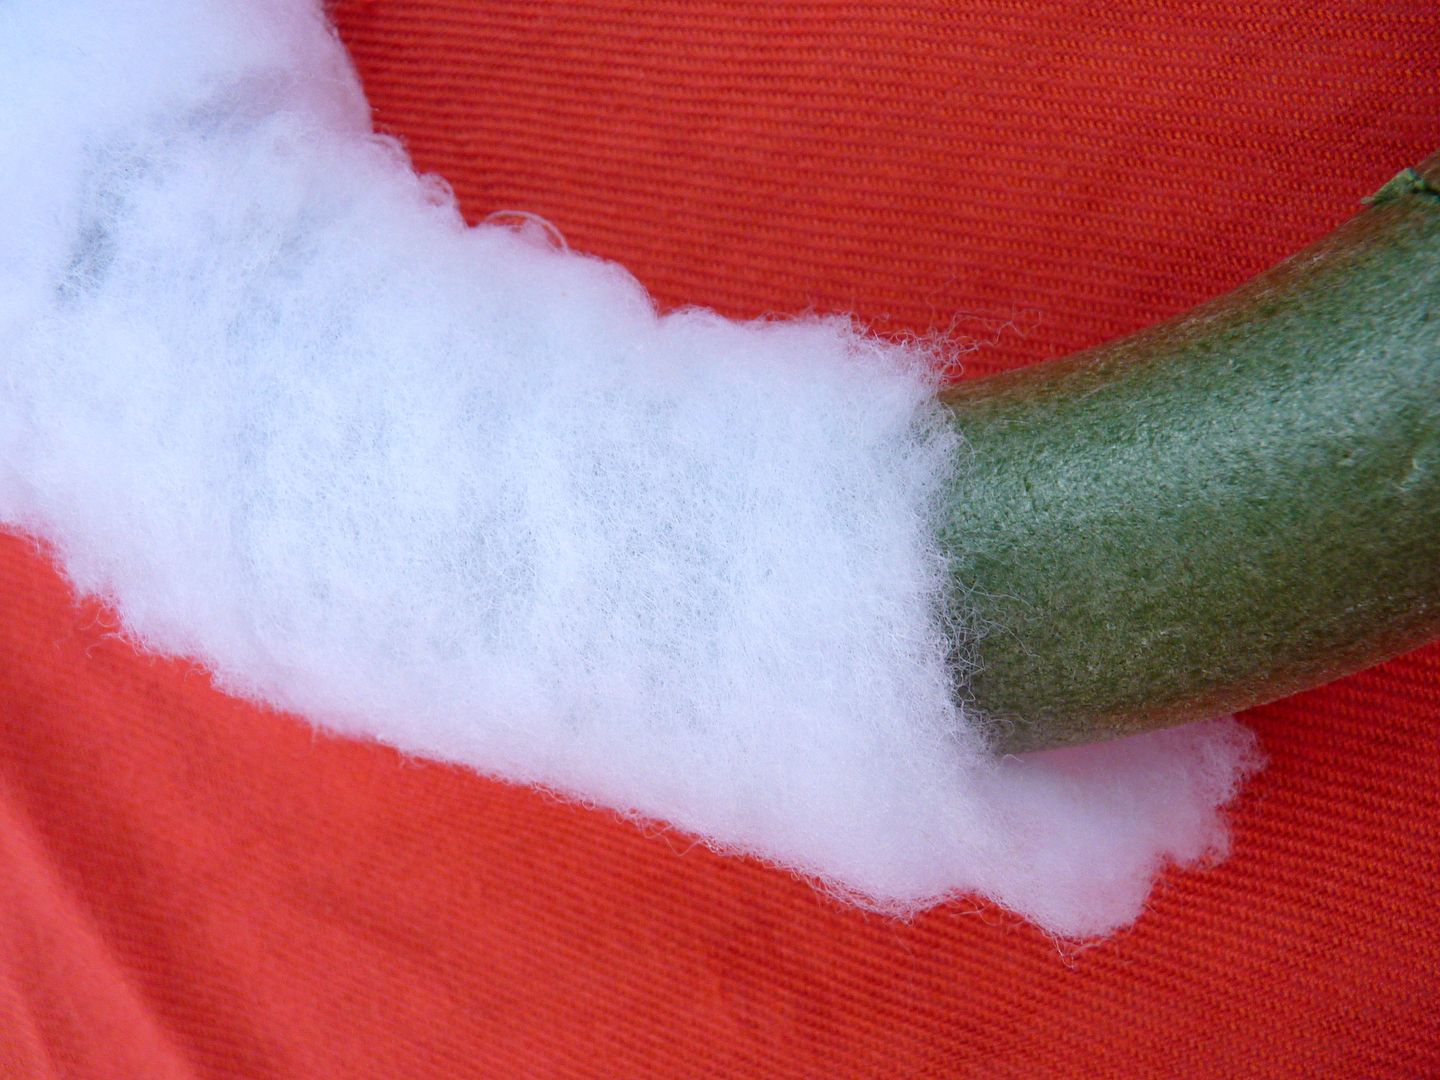
The first layer on this wreath is made of quilt batting. You don’t want any of the base material showing. I liked the fluffy white background in case there were any gaps between felt ties. The batting is rather snowlike, too.
There’s no need to secure the batting. The felt ties will hold it in place. Begin by tying one piece of felt, locating the knot slightly off-center. Tie the next one snugly up close to the first, with the knot slightly off-center in the opposite direction. Alternating between these two knot positions makes the wreath look fuller.
This is the kind of work you can do while you watch your favorite Christmas movie. I doubt that you can mess it up, and if you do, the knot-tying is reversible and tweakable.
This is the kind of work you can do while you watch your favorite Christmas movie. I doubt that you can mess it up, and if you do, the knot-tying is reversible and tweakable.
 |
| Whether your base is straw or foam, covering it with a background material is always a good start to producing a really finished look. However, if your base is a color similar to your felt and your ties are close together, a covering may be optional. |
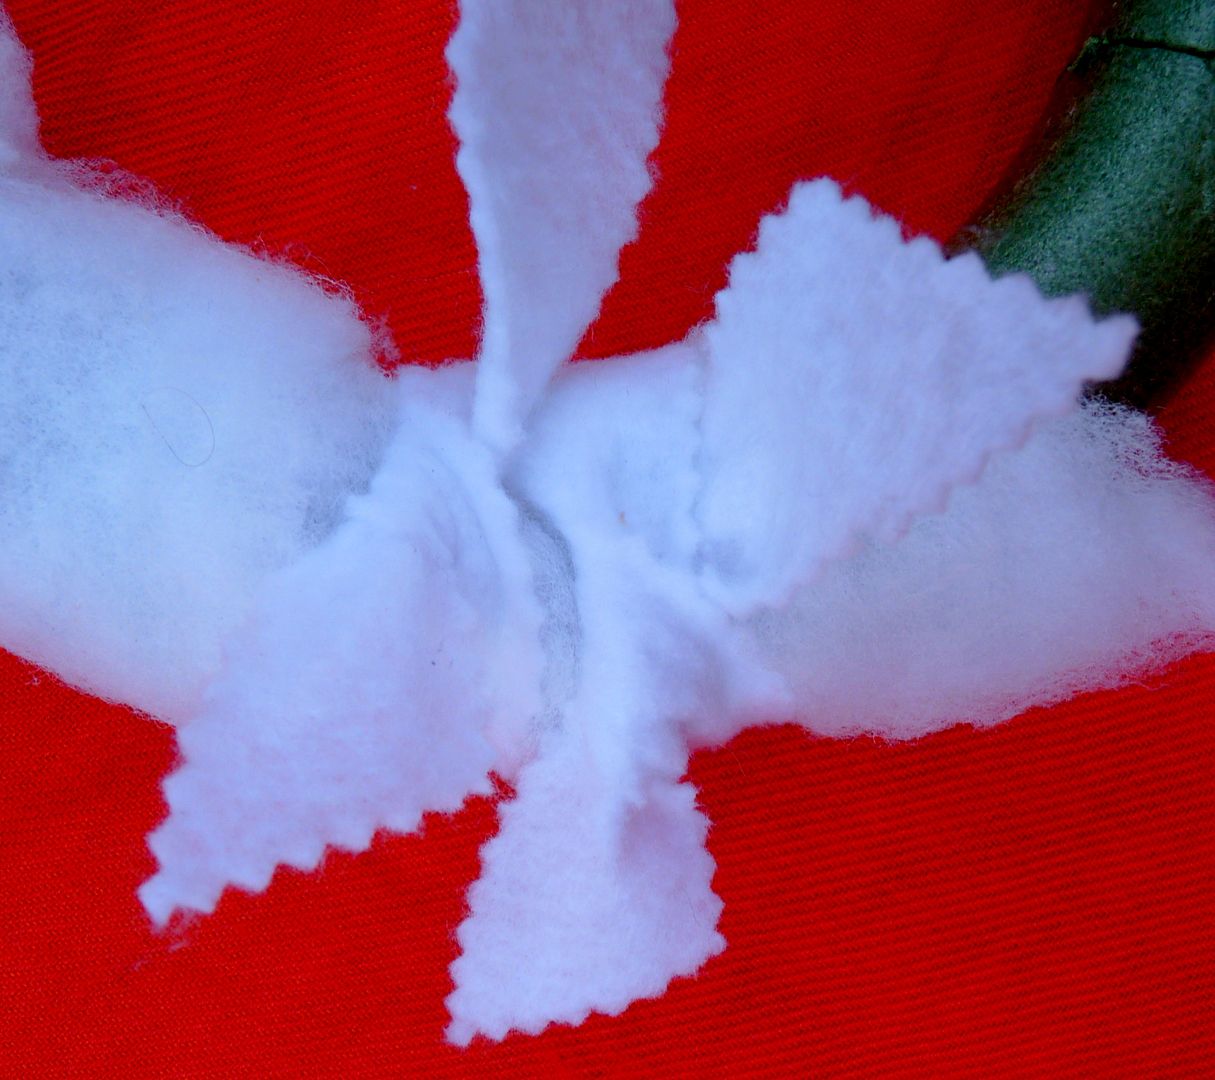 |
| Off-set each knot so that they don't line up around the center of the wreath. |
Place the bow
Once you’ve gone around the full wreath circle with felt ties, tie on a ribbon. You can make one simple loop for hanging, or tie a single bow, or a full multi-loop bow. I like the bow-tying tutorial Kristi gave on her site, Addicted 2 Decorating.
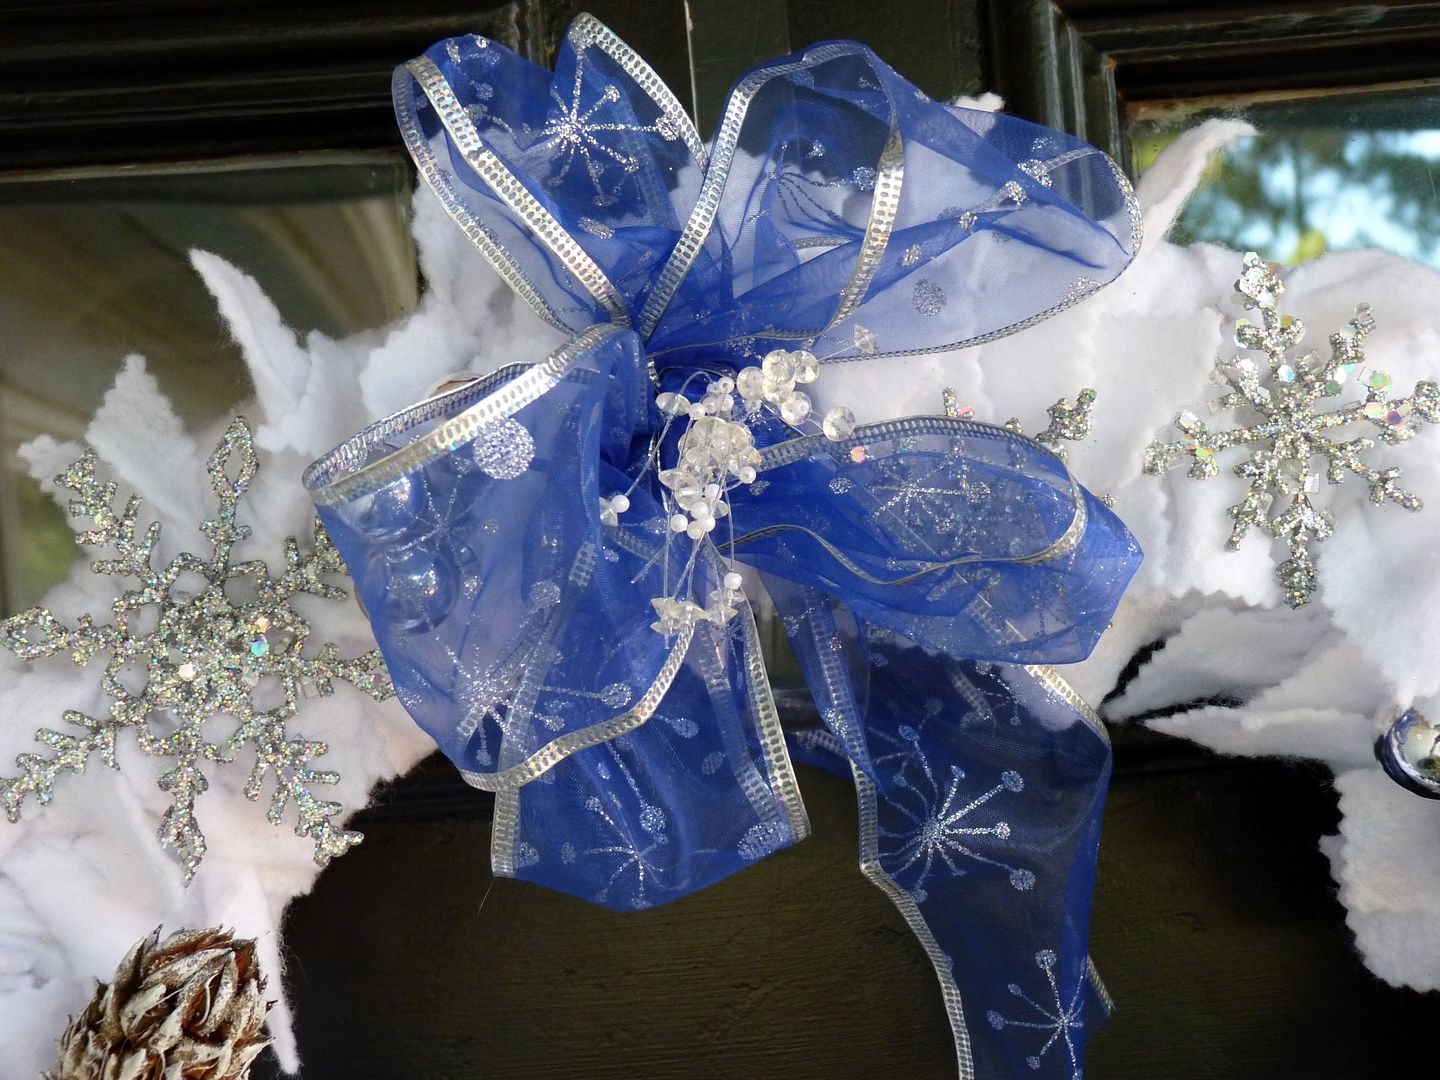

I always place one big bow before adding everything else, even though I know some designers add the bow last. I figure it's the focal point, so why tack it on as an afterthought?
I prefer wired ribbon over grosgrain or satin ones because the wired edges make it look perky and stay perky.
Next, I add decorative picks that I’ve either made myself or bought. Here's your chance to get as quirky, sophisticated, artsy, or funky as you like. Just remember that you don't want to add anything too valuable or too distracting.
About picks
I wrote last winter about how to wire a pick with natural trimmings. Wooden picks aren’t the best way to go with felt wreaths because they don’t pierce the felt.
Instead, you can use a variety of other methods for those finishing details. You can sew on decorations (like smaller bows, buttons, ornaments, and jewelry). I like the sewing method when I plan to disassemble and reclaim the decorations later.
I like to hot glue decorations like tiny toys and silk flowers onto the felt wreath when I know the wreath won’t be recycled. If you glue and want to recycle the wreath for another seasonal holiday, you can just remove the felt strip that has chunks of glue on it, and go on from there.
Thirdly, you can use straight dressmaker pins to attach decorations to the felt wreath. This method makes sense when the attachments are lightweight and would show glue or stitches. Pins hold firmly in foam, but not so well in straw.
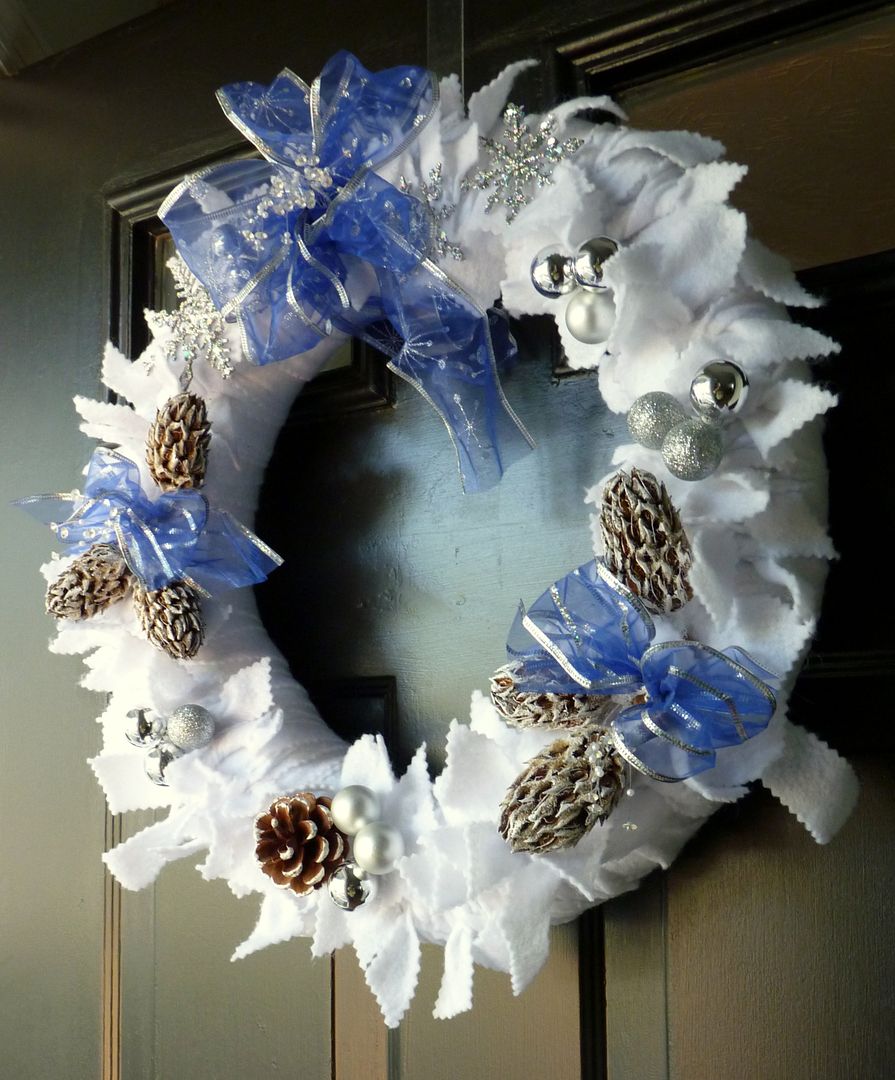
The blue and white winter wreath I made this year features silver ornaments and glittery snowflakes that I stitched on, pine cones and magnolia cones that I painted and glued on, and bows that I pinned on.
Finally, use scissors to give your wreath a little styling, just the way your hair stylist finishes your haircut. Snip, fluff, and you’re done.
Hang it up
Because felt isn’t exactly all-weather fabric, if you want to use this wreath outdoors, it needs to be in a protected area, like a porch, or on a door with a wide overhang above it. I usually hang it on a wide plastic or metal hook, but if you are hanging it on a small nail, you might want to make a loop of fishing line on the wreath.
Hang your wreath where it will call attention to a desirable feature of your home, or perhaps dress up an empty area in a foyer or hallway, or even a decluttered bathroom.
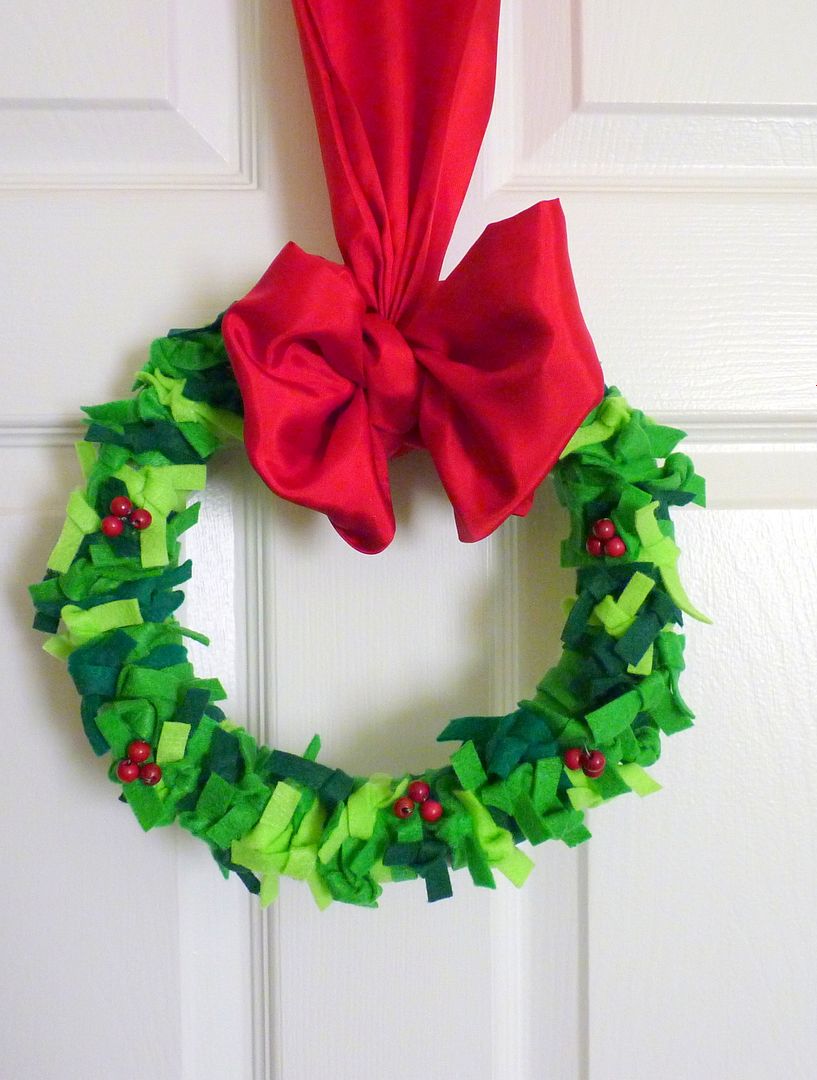 |
| I like to randomly mix three shades of green for a felt wreath that looks like holly. Sort of. The "berries" are wooden beads sewn on. |
 |
| If you have a rotary cutter, a cutting mat, and a metal T-square, cutting felt strips for wreaths goes lickety-split. These strips were cut from 9- x 12-inch felt squares. |
Given a choice, I’ll choose a wreath over a garland, banner, or other holiday dress-up. Felt wreaths and rag wreaths are especially easy, economical, and fun to make. That’s the kind of project that calls out to me. You too?
Remember that a staged home – complete with a seasonal wreath welcoming visitors and prospective buyers – looks like a loved home, a well-maintained home. You can get more house-selling tips in my eBook, DIY Home Staging Tips to Sell Your Home Fast and for Top Dollar.