

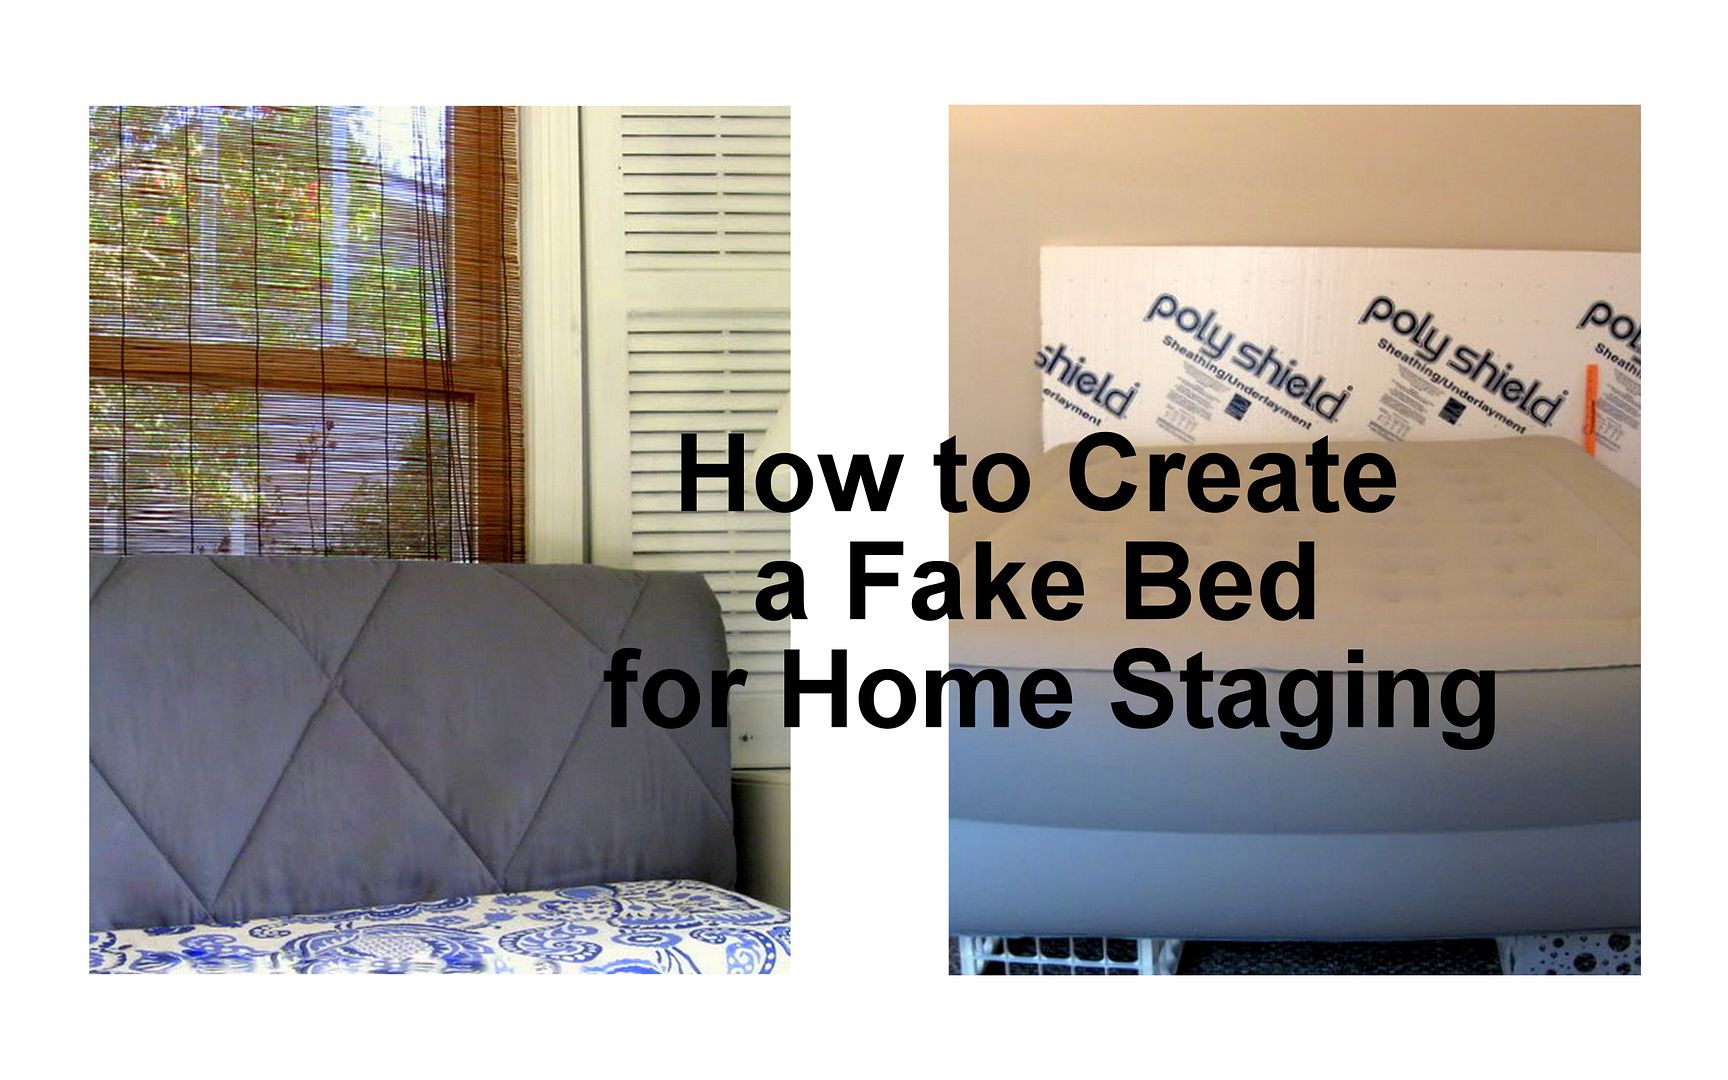
On Monday I showed you how to make a low-cost headboard to stage a bedroom.
Because bedrooms are important to buyers, they need to look irresistible!Today's tutorial shows you how to make a beautiful bedskirt to disguise the inflatable mattress we used to stage an empty space as a bedroom.
Start with a fabric that is not difficult to match when constructing the bedskirt. Plaids, wide stripes, and one-way designs are difficult to match. A solid color, a small geometric, pinstripes, or a design that looks random, works best. Make sure the fabric is opaque enough so the inflatable does not show through.
This bedskirt has box pleats at the corners. It gives the bed a tidy, tailored look, isn’t too girly, but adds a small amount of fullness. You can put one more box pleat midway on each side of the bed for a more custom look. If you decide to add side-pleats, you’ll need to add another half yard of fabric.
What you need
3 ½ yards of fabric
Iron and ironing board
Scissors
Yardstick
Masking tape
Duct tape
How to do
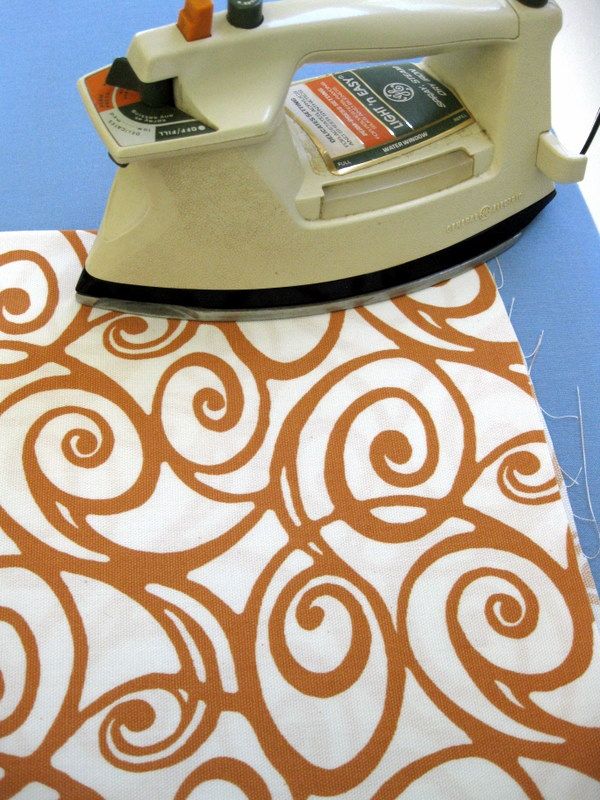
Make sure the inflatable is completely blown up and that the valve is secure, because if the bed deflates, the bedskirt will not be the correct length. Set the bed on four milk crates, as shown in the headboard tutorial.Fold the fabric in half lengthwise. Be precise.

Iron the lengthwise fold. This crease will give you a line to cut on to divide the fabric into two lengths.
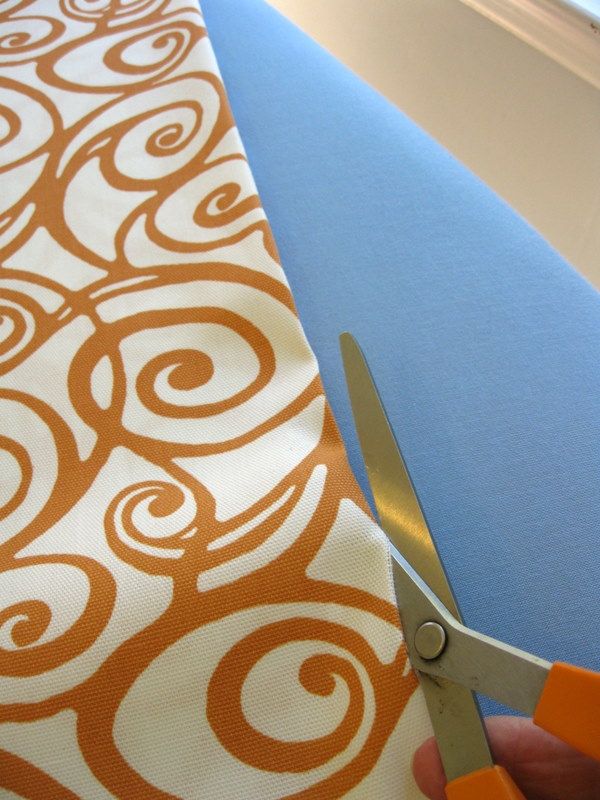
Cut the fabric in half, along the fold.
Turn over a 1-inch hem along the cut edge of both pieces of fabric. Pin the hem as shown. If you chose a one-way design, use the selvage (the woven edge) to be the hem on one of your two cut pieces of fabric. Otherwise, the design on one side of the bed will run upside down.
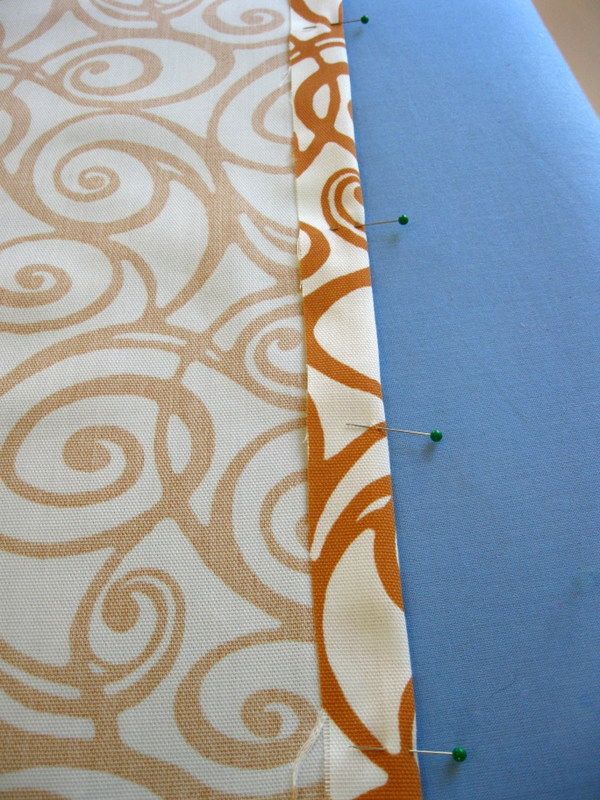
Iron the hem. Iron right up to the pins, but not over them, so that you have the entire edge pressed without leaving marks where the pins are. You are going to use masking tape to hold the hem in place, and you won’t be able to iron over the masking tape, so make sure all wrinkles and creases are out.
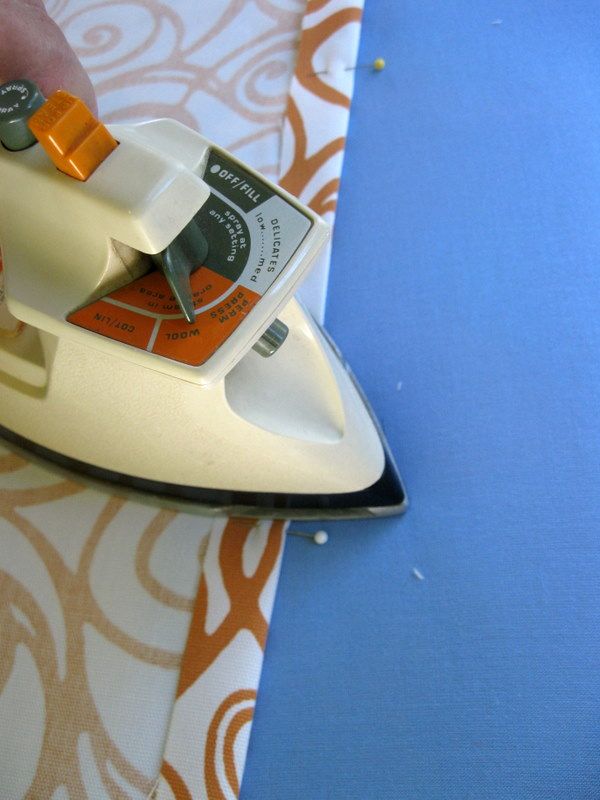
Use masking tape to finish the hem. Leave the pins in place until you have the entire hem taped. We're making a temporary bedskirt in this tutorial. If you want to sew the hem, or use fabric glue or fusible tape, knock yourself out.

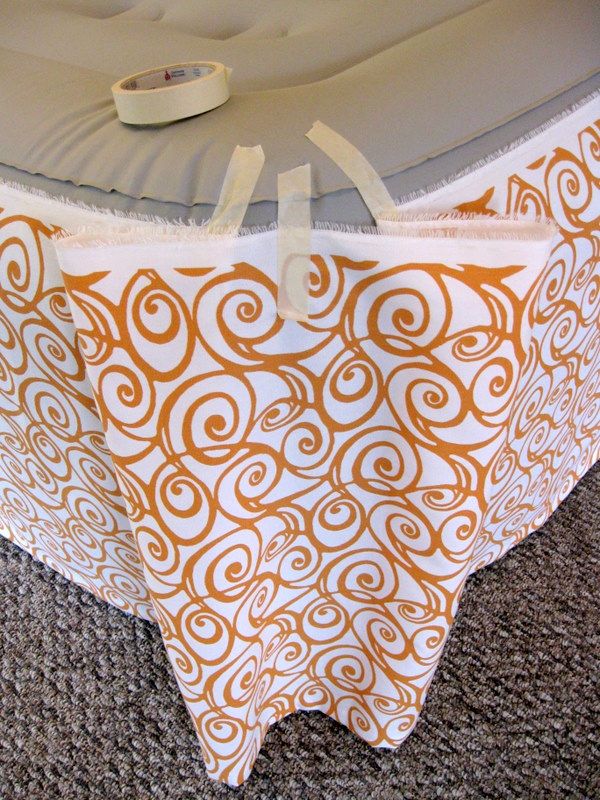
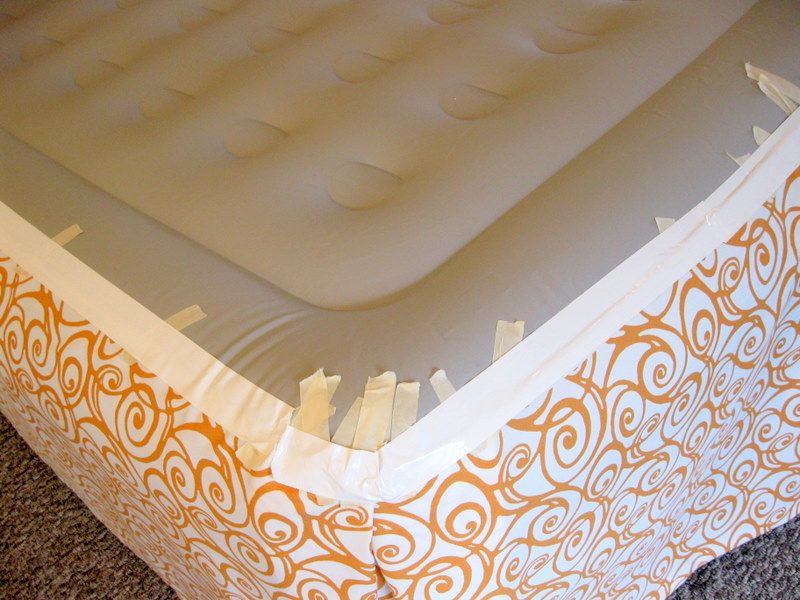
Find the center of the inflatable’s bottom edge (the “foot of the bed”). Mark the center spot with a small piece of masking tape. Fold three or four inches back, and tape the folded end of one fabric length to this mark. Make sure the hem sits just above the floor. Finger press the fold for a crisp look.
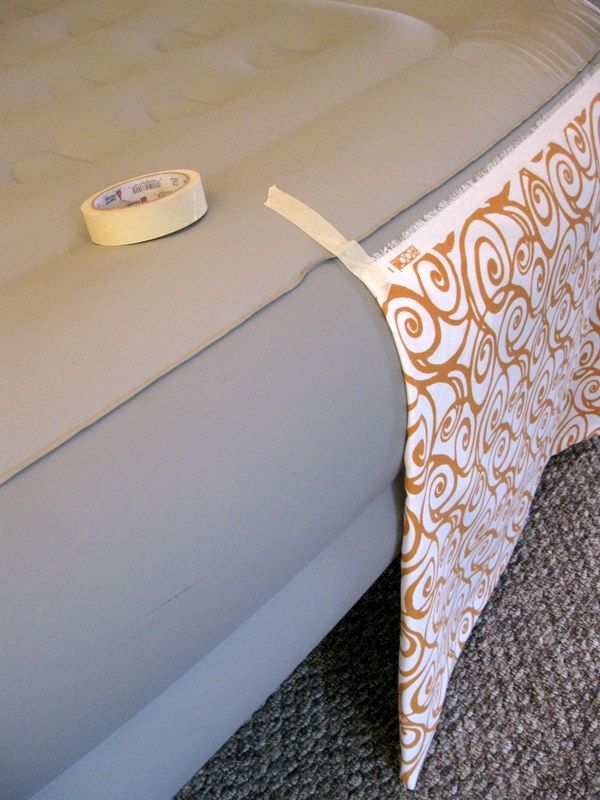
Tape the opposite end of the same length of fabric just around the corner at the head of the bed, checking to be sure the hem sits just above the floor.
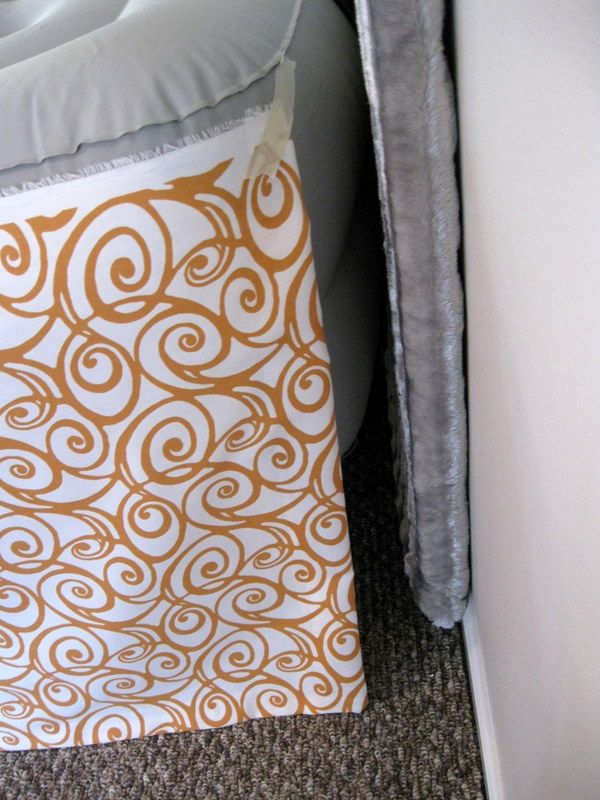
Tape the fabric length at the center of the bed’s side, and at the front corner in two places. Let the excess fabric fall as shown.
Bring the center of the loose fabric to the corner of the inflatable bed, and tape it to the bed.
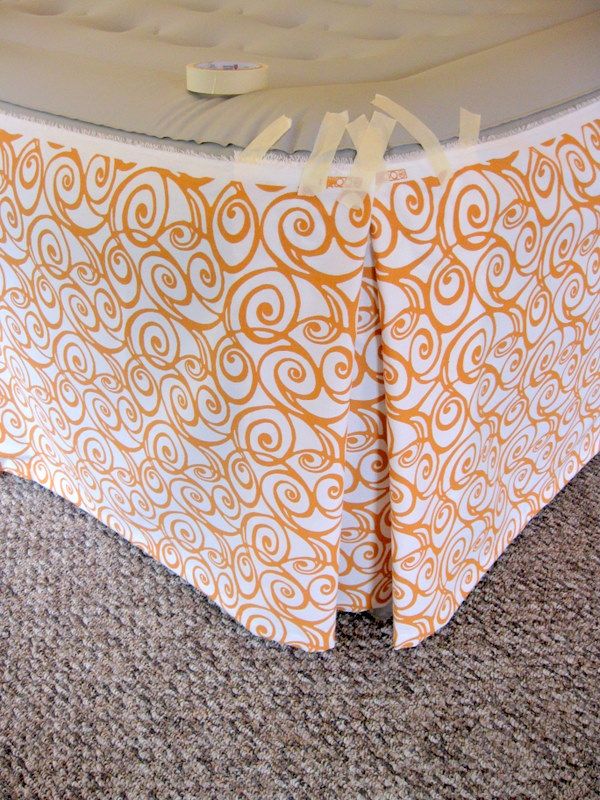
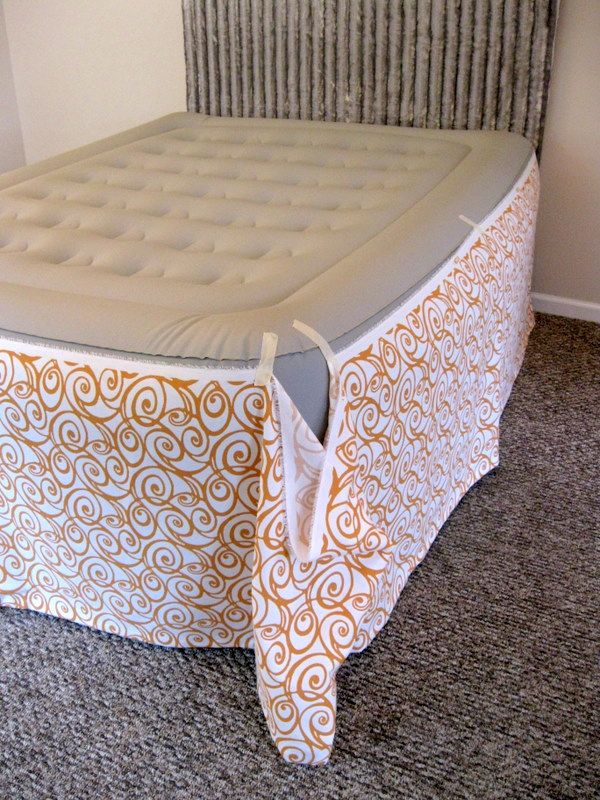
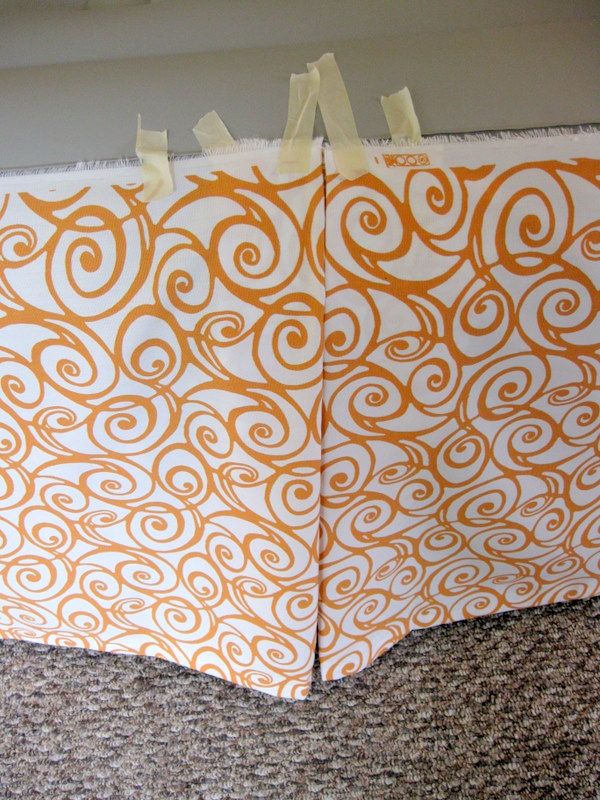
Repeat this process on the other side of the bed, starting at the foot of the bed. Slide the end of the second length of fabric under the fold of the first length of fabric. Then fold the second length of fabric to create a box pleat. Tape in place. Don’t worry if one fold on one side is deeper than the other, as long as they look okay from the front. Finger press the fold.
Cover your bed with a blanket, bedspread, or duvet that covers the taped edges on the inflatable, and that is thick enough to hide the indented pattern on the top of the inflatable.

Get the look, get the book
Did you know that I've written an ebook -- not a pamphlet, but an illustrated 150-page pdf -- all about staging your own home for the real estate market?You can download it now, and begin making your home the one that stands out from the competition. Staging sells homes.
Whether you did it deliberately or not, your home is already staged. Make it staged to sell, by following the easy advice in my home staging ebook, DIY Home Staging Tips to Sell Your Home Fast and For Top Dollar.
