A home office is a selling feature when you stage to sell.
If you want your home to look more contemporary, and more accommodating in general, look for where you can tuck a home office into your house.
It needn't be large, just somewhere a person can sit and take care of business, a spot that’s not the dining table or the kitchen counter. Really, a home office can be staged in just one corner of a bedroom, family room, or living room.
Often there is a place for a small office on a stair landing, in a wide foyer, or in the unused space under a staircase. A table or desk, maybe some shelving or bookcase, and you’re there.
Choose a Chair
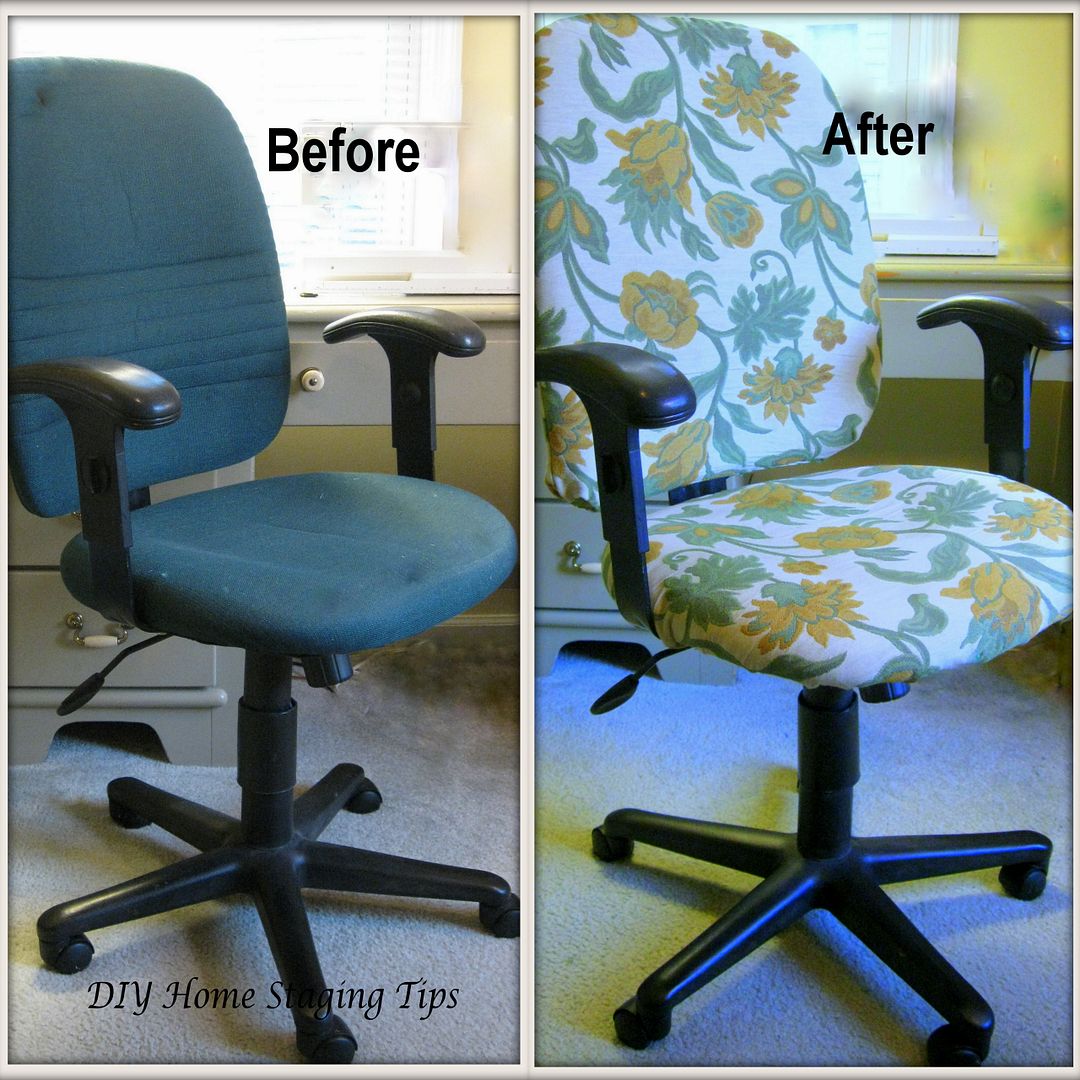
Ever since we brought home this ugly, hunter green office chair from Staples about 12 years ago, I’ve hated it. The manufacturers may have spent money when they studied the ergonomics of the chair, but they sure ignored the glamour-omics.Today, I decided to do something about it. I’m not the first one to pretty up an executive chair. Teresa at Cozy Cottage Slipcovers is a pro, and so is Kristi at Pink and Polka Dot. I covered my ugly chair in a couple of hours, doing very little actual sewing.
I have a glue gun, and I'm not afraid to use it.
Here’s how I beautified my chair and how you can quickly and easily do the same to your ugly chair.
Get Fabric
 |
| One of my favorite activities is shopping for fabrics. This chair makeover takes less than two yards, so remnants often work. |
You should use something heavier than drapery weight or “dress weight,” to make sure you don’t end up with a mess o’ wrinkles after you’ve been sitting on it.
An upholstered look rather than a slipcovered look, will stay neater, which is better for home staging.
Make a Pattern
I laid ugly chair on its back on a flattened sheet of newspaper. I traced a line about two inches out from the edge of the entire backrest, to allow for seaming and for the thickness. I set the chair upright again. I cut out the paper pattern.Cut Your Fabric
I cut two layers of fabric using the newspaper pattern. Then I laid a square of fabric over the seat and cut a few inches out from the seat, so I could wrap it all the way to the bottom of the seat.Pin the Back Cover Pieces
I still didn’t know I was going to blog about this project, so I didn’t take pictures of these steps. I wrapped the backrest with the two back fabric pieces, inside out, and pinned them together, adjusting the seams so the new cover would fit snug, but loose enough for me to pull it off. I pulled it off, and sewed the front to back, turned it right side out, and pulled it back over the chair.Stitch the Back Cover Closed
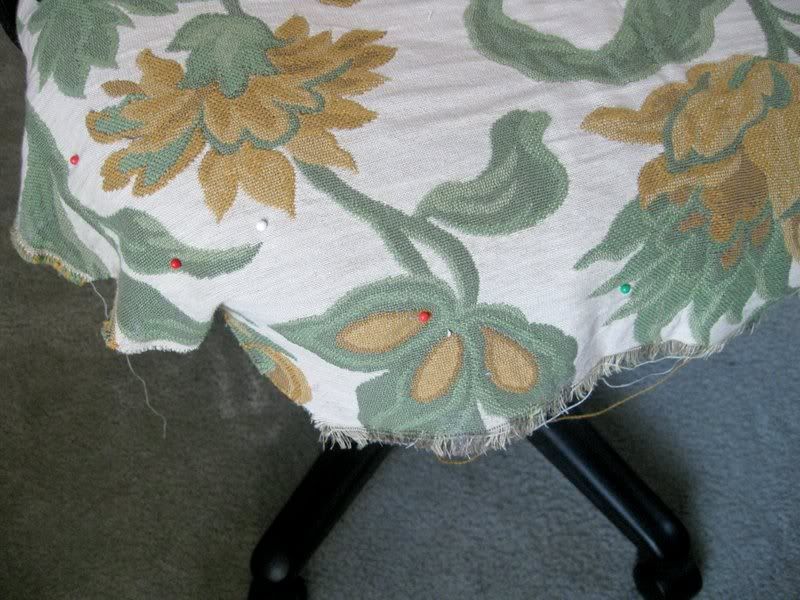
I pinned the bottom edges of the back cover, and slip stitched the opening at the bottom closed. I didn’t fuss with this stitching because it won’t really be visible.
This is the lower edge of the backrest, and I have pinned front to back, ready for slip stitching.
Wrap the Bottom Piece
I laid the other square of fabric on the seat, smoothed it, and pinned it around the edges to hold it in place.I flipped the chair over and started hot glueing the fabric to the bottom of the seat.
I set the seat of the chair on a tall, lidded kitchen garbage can to make it easier to work on. A stool would also serve. You can't put it on a large work surface because the arms and back get in the way.
You can see I have stuck pins around the seat edge to hold the fabric in place when I flip the chair.
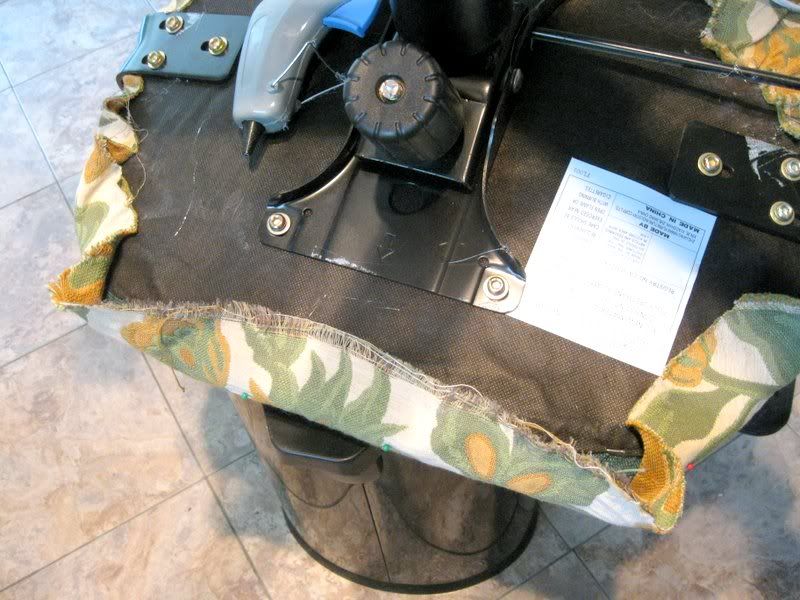
To make the seat fit smoothly, I first glued the seat in four places -- the center of each side. Then I glued small sections at a time, easing the fabric so there were no big puckers.
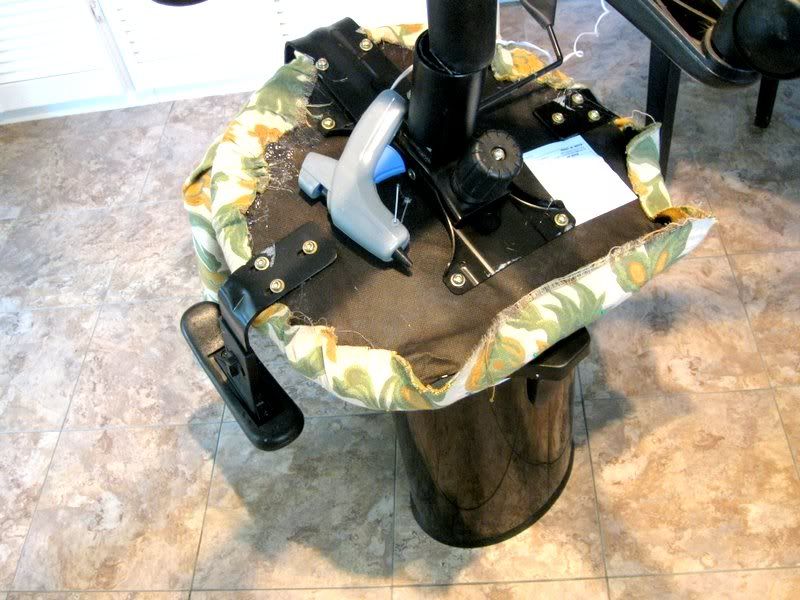
Gradually, all the raw edges will be glued down. The edges can remain raw as long as the glue keeps loose threads out of sight. We're not talking heirloom quality here.
With a chair this pretty, that little home office you’re creating for staging looks inviting, and gets your message to buyers that this is a home that is loved and where they can be comfortable.
If each of these chairs didn’t cost about $100 and up at Staples, I would recommend buying and covering a set of four or six for a dining room staging. They would be comfortable and stylish. Usually by the time an office chair makes it to the thrift store, it's shot. And chances of finding more than one matching office chair second hand are slim.
But one for a home office? Perfect!
Get the look. Get the book.
There are so many was I can think of to fluff up your home when you are ready to sell, that I put them into one place -- a book. You can download my eBook, DIY Home Staging Tips to Sell Your Home Fast and for Top Dollar.I’ll take you from start to finish of home staging. Why go it alone when I can hold your hand, encourage you, save you from mistakes, and show you how to save money? Downloading takes just a few clicks and you can begin preparing your own home for the real estate market today.